Ever wanted to get a little topsy-turvy during your Hatha Yoga practice but weren’t sure how? Now’s your chance! Inversions might look daunting, but with thorough instructions, a little practice, and a lot of patience, you’ll be upside down in no time. Below you’ll find the Integral Yoga instructions for Sirshasana, or the Headstand, as given by Swami Satchidananda in the book, Integral Yoga Hatha. Follow along with the step-by-step photos to ensure proper form.
Please take note: you should not attempt this pose if you have high blood pressure, neck or head injury, or osteoporosis.
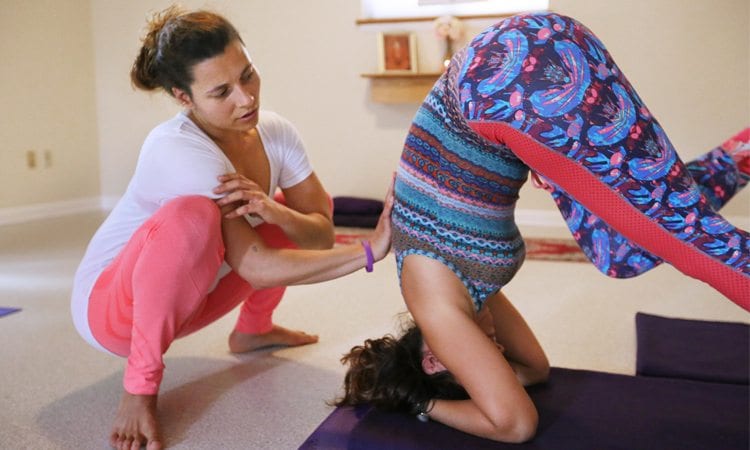
If you don’t feel ready for Headstand, try a more gentle inversion such as Legs Up Against the Wall, Bridge Pose, or Shoulderstand. Remember to practice under the supervision of a Yoga teacher and make sure that you don’t have any health concerns that may contraindicate the posture.
Technique (Part I)
Stage I: Kneel. Lock the fingers and create an angle on the floor with the forearms by placing them on the floor in front of you. Let the locked fingers serve as the vertex of this angle. The distance between the elbows should be a forearm’s length, thus forming an equilateral triangle.
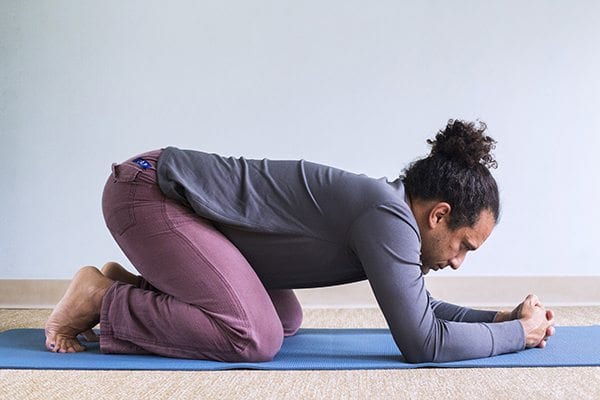
Stage II: Then place the crown of the head on the floor, close to the locked fingers, so that the locked fingers can support the back of the head.
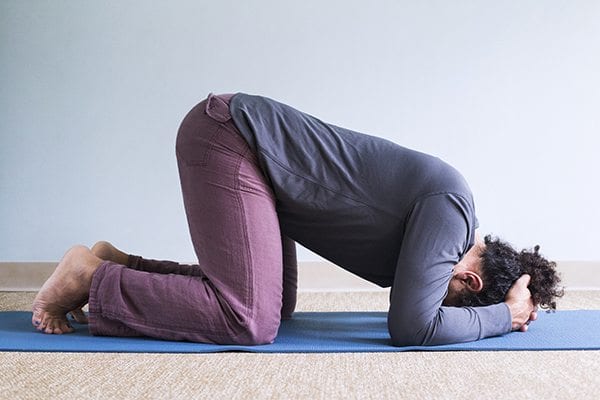
Stage III: Slowly lift the trunk, bringing it perpendicular to the ground. To do this, you must raise the knees and bring the toes nearer to the face. When you have raised the trunk sufficiently, you will automatically feel that the toes can be lifted slowly off the ground, without any jumping or jerking. Conversely, if the trunk is not lifted sufficiently, and if the toes are jerked up, there is every possibility of your falling backward.

Technique (Part II):
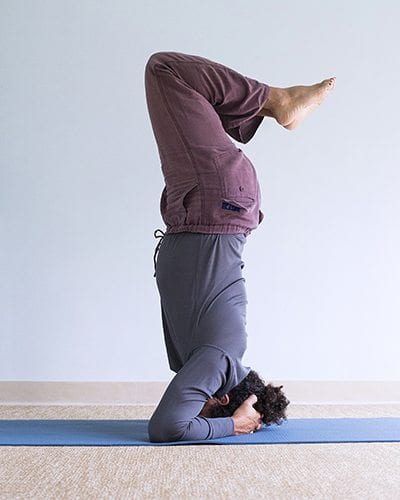
Stage IV: After getting used to the earlier stages of Sirshasana, slowly lift the toes and fold the legs so that the heels come closer to the buttocks, with the soles facing up.
Stage V: Gently lift the thighs, bringing them through a horizontal position.

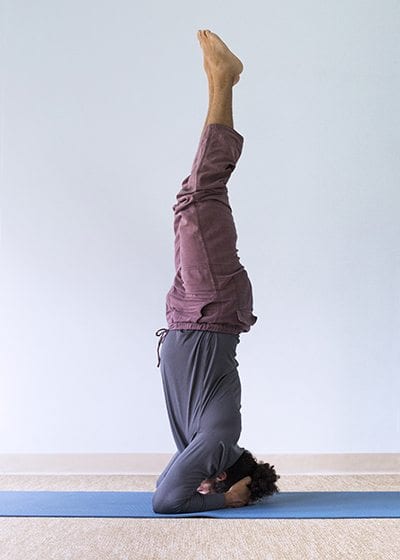
Stage VI: Slowly straighten the thighs in line with the trunk of the body. Keep the spine erect. Now the knees will be facing up and the legs hanging down behind the thighs.
Stage VII (Final Stage): Make sure of the balance fully before proceeding further. Little by little, unfold the legs upward to form the full pose. The weight of the body should be distributed between the head and forearms initially. Later on, the entire weight should be allowed to fall on the top of the head, with the forearms placed lightly on the floor only to maintain balance.
When coming down, reverse the order—folding the legs first, next bringing the thighs close to the chest, and then placing the knees and toes on the ground. Then, lift the head, take the forearms off the floor, and assume Vajrasana (pelvic pose) to rest awhile and harmonize the blood circulation. Breathe normally throughout the pose.
Caution: Each stage of Sirshasana must be practiced for several days before going on to the next stage, so that the muscles get used to the pose gradually. It is better to start practicing Sirshasana after mastering the other poses. Never try to jerk up the legs in order to assume the pose. If there is any vomiting or nauseous feeling while doing the pose, drink half a cup of milk and begin the practice a half-hour later. Keep the mouth closed. If saliva collects, do not swallow it, but dispose of it after the pose is finished. If you feel like sneezing, coughing, or yawning while in the position, come down immediately, before doing so. Do not practice this pose if there is disturbance in the organs of the head or if headache or fever is present.
Time: Start practice with ten seconds’ duration and gradually increase the time up to ten minutes. After practicing all the poses for a good length of time, those who wish to drop the other poses may do Sirshasana alone for twenty-five to thirty minutes.
Benefits: This pose builds up a healthy brain and tones the entire nervous system. It favorably influences all the endocrine glads, particularly the pineal, pituitary, thyroid, and parathyroids. It aids in the relief of almost all nervous ailments, improves memory power, and is useful in ridding oneself of seminal weaknesses such as premature ejaculation and nocturnal emissions. It helps in the maintaining of celibacy. It helps to relieve nervous and hepatic types of asthma, as well as diseases of the lungs, digestive, and genitourinary system. Uterine and ovarian diseases are relieved. This pose benefits the body overall and helps to relieve many diseases.
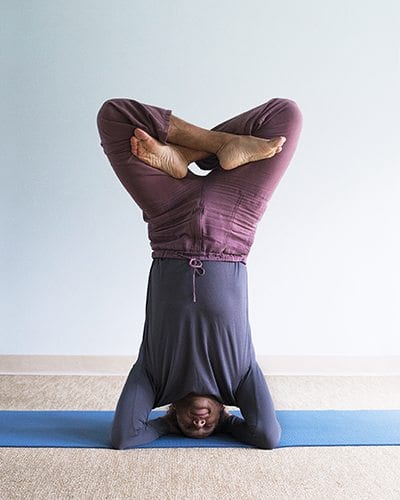
If you have an established headstand practice, you may try the variation of Oordhwa Padmasana, or the Upward Lotus pose.
Technique: Assume Sirshasana (headstand). During the final stage, slowly fold the legs downward to form Padmasana (lotus pose). The body should be at complete right angles to the floor, with the lotus stretched upward. Another way of doing Oordhwa Padmasana is to begin by sitting in Padmasana. Place the palms, with fingers outstretched, in front of the corresponding knees, on the floor. Balance on the palms, and slide the knees over the forearms up to the elbows, bringing the head downward, with the lotus stretched up.
Caution: This pose calls for very strong arms and wrists.
Special thanks to our fantastic model, Dub VanDina (IYTA Global Outreach), and stellar photographer, Bill Geoghegan (Marketing Director), for volunteering their time and skills for this blog.
Want to learn more about Integral Yoga?
Sign up for the Integral Yoga 200-hr teacher training to develop the skills necessary to become a knowledgeable Yoga teacher.
